Best Camera Settings for Drone Photography
The biggest mistake new pilots make is trusting automatic settings. Here's exactly how to configure ISO, shutter speed, and white balance for professional drone photos.
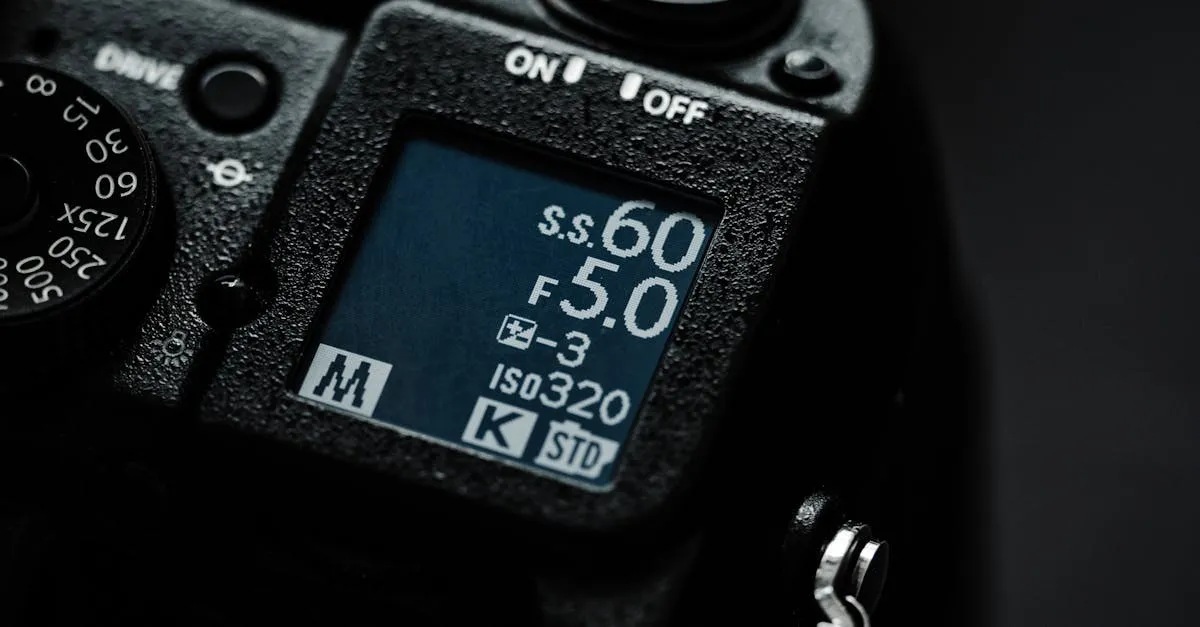
To capture professional aerial photos, abandon automatic modes and take manual control. Keep ISO locked at 100 to prevent noise, maintain shutter speed between 1/500s and 1/1000s to combat motor vibrations, and always shoot in RAW at 4:3 aspect ratio to preserve maximum dynamic range.
Flying a drone is easy. Getting professional-quality photos is a different story. The biggest mistake new pilots make is trusting the automatic settings. While auto modes have improved, they prioritize a safe, average exposure — not a dynamic image. If you want your aerial photos to stand out, you need to take manual control.
The Exposure Triangle for Drones
The exposure triangle is the foundation of all photography, but it behaves differently in the sky. Drone sensors are significantly smaller than full-frame mirrorless or DSLR cameras. Because of this, you have less room for error.
ISO: Keep It Low
Drone sensors cannot handle high ISOs. When you push ISO past 200 on most consumer drones, digital noise immediately degrades image quality. Treat ISO as a last resort for exposure.
Keep ISO locked at 100 during the day. At dawn or dusk, you can push to ISO 200, or maybe ISO 400 on a flagship model like the Mavic 3. Anything above ISO 800 is likely unusable for professional work.
Shutter Speed: Freeze the Vibration
Drones are flying vibration machines. Between motors, props, and wind, there is constant micro-jitter. To combat this, your shutter speed must be fast.
For still photography, never drop below 1/500th of a second. A safe range is 1/500s to 1/1000s for razor-sharp images.
Aperture: Fixed vs. Adjustable
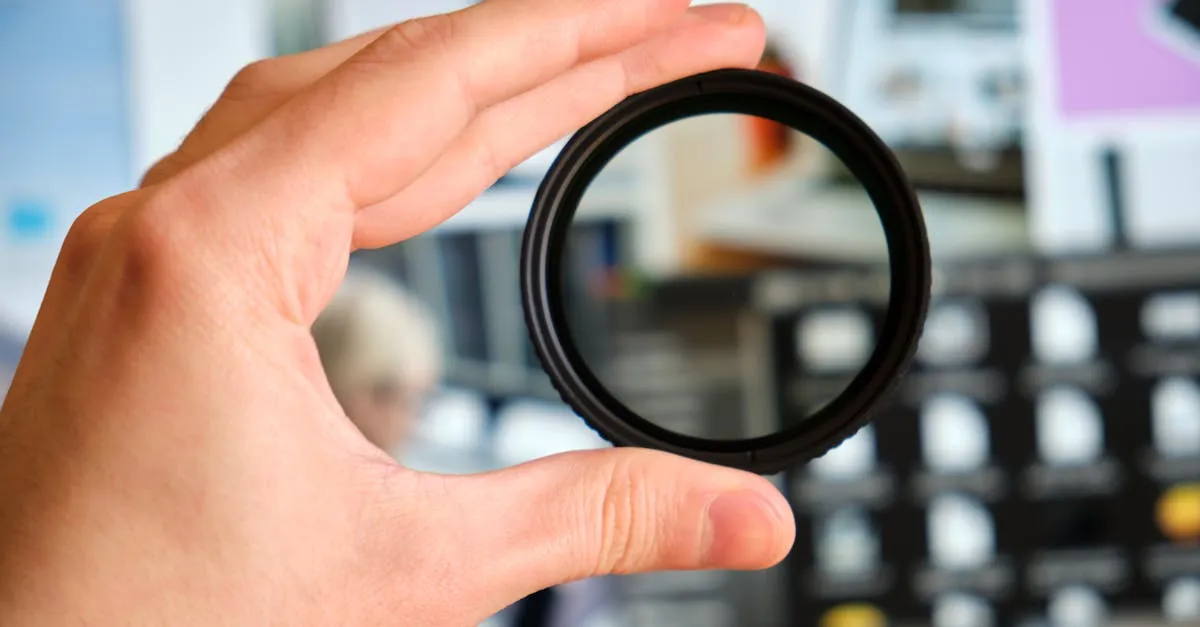
Most consumer drones (DJI Mini, Air series) have a fixed aperture of f/2.8. You must rely on shutter speed and ND filters to control exposure.
If your drone has an adjustable aperture (Mavic 3), you can stop down to f/5.6 or f/8 for sharper edges and deeper depth of field.
Photo Format and Quality
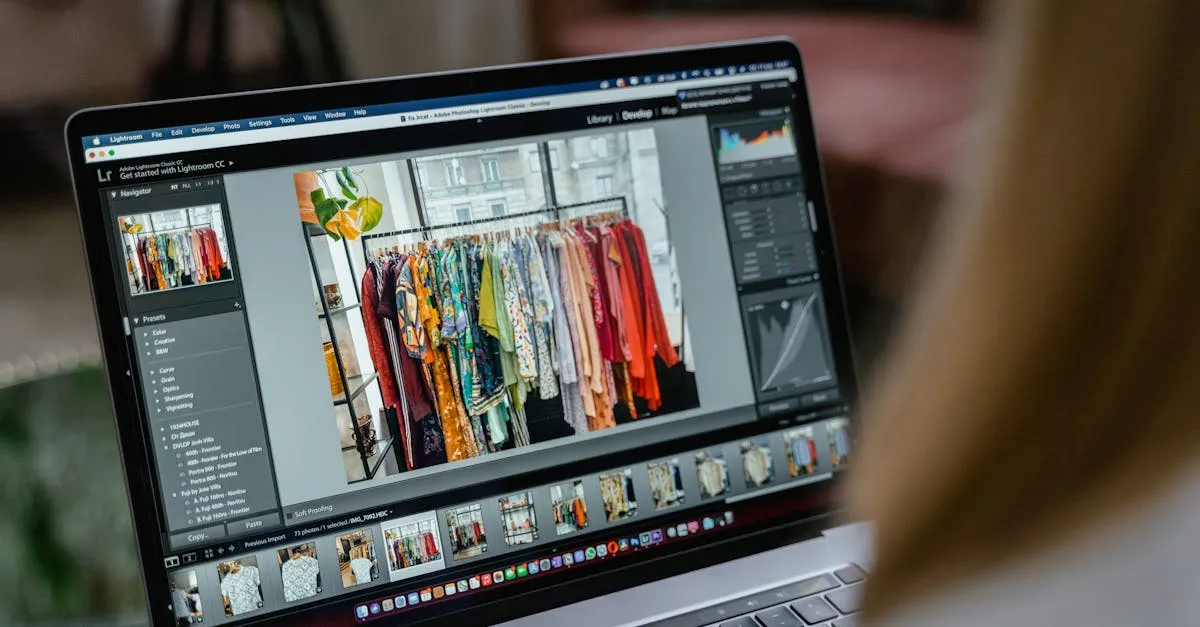
Always shoot RAW. JPEG throws away data. RAW files preserve every bit of dynamic range and color data. When shooting aerials, you frequently deal with extreme contrast — dark shadows on the ground and bright skies. RAW gives you the power to recover both.
Shoot in 4:3 aspect ratio. Your drone’s sensor is natively 4:3. When you select 16:9, the drone crops the top and bottom, throwing away megapixels. Always shoot 4:3 at maximum resolution. Crop to 16:9 later if needed.
Use JPEG+RAW for quick sharing if you need to post immediately from the field.
White Balance
Never leave white balance on Auto when shooting a series. AWB adjusts temperature frame by frame, giving you inconsistent colors across a set.
- Sunny days: Set to Sunny (5600K) for balanced warm/cool tones
- Overcast days: Set to Cloudy (6500K) to counteract the blue tint
Shooting RAW means white balance is adjustable in post, but consistent in-camera WB saves massive editing time.
Recommended Settings by Scenario
Golden Hour
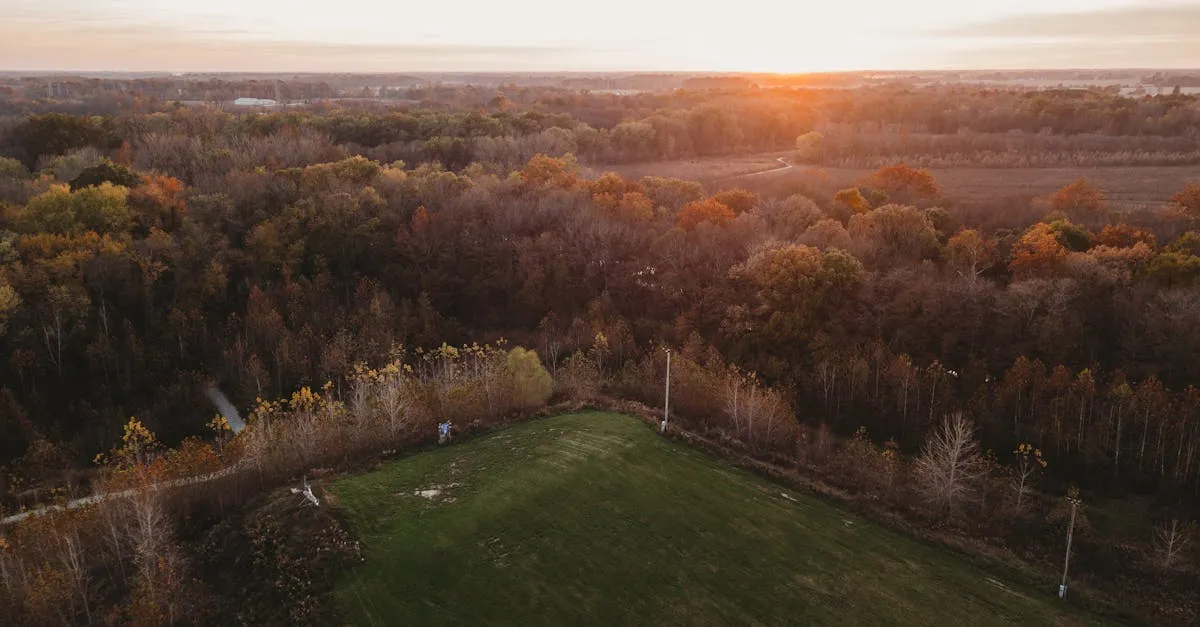
ISO 100, 1/200s or faster, Sunny WB, RAW. Work quickly — light changes by the minute.
Midday Sun
ISO 100, 1/1000s+, EV compensation -0.3 to protect highlights. You can lift shadows in post, but you cannot recover blown-out skies.
Overcast
ISO 100-200, 1/500s+, Cloudy WB. Overcast acts like a giant softbox — excellent for avoiding harsh shadows.
Night/Low Light
ISO 200-800, slower shutter (watch for vibration), manual focus on distant lights. Autofocus will hunt endlessly in the dark.
Common Mistakes
- Leaving camera on Auto — overexposes sky to brighten ground, washed-out result
- Ignoring the histogram — the screen lies in bright sunlight; trust the graph
- Pushing ISO too high — noise destroys detail permanently
- Shooting JPEG only — data is gone forever
- Not using grid lines — crooked horizons are the ultimate amateur sign
Frequently Asked Questions
Why should I avoid automatic settings on my drone? Auto modes prioritize a safe, average exposure, often overexposing the sky to brighten the ground. Manual control lets you properly balance extreme contrasts like dark shadows and bright skies.
What is the ideal shutter speed for still drone photos? Never drop below 1/500s because drones constantly experience micro-jitter from motors, props, and wind. A safe range of 1/500s to 1/1000s ensures razor-sharp images despite vibrations.
How should I handle ISO at different times of day? Keep ISO locked at 100 during the day since drone sensors produce immediate noise at higher values. At dawn or dusk, carefully push to ISO 200, or maybe 400 on a flagship like the Mavic 3.
Why shoot in 4:3 aspect ratio over 16:9? Your drone sensor is natively 4:3. Selecting 16:9 crops the top and bottom of the frame. Shooting 4:3 at maximum resolution preserves all megapixels, letting you crop to 16:9 later if needed.
How does adjustable aperture benefit drone photographers? Most consumer drones have fixed f/2.8 requiring ND filters. Adjustable apertures on drones like the Mavic 3 let you stop down to f/5.6 or f/8 for sharper edges and deeper depth of field.
What white balance setting for overcast days? Set to Cloudy (around 6500K) to counteract the natural blue tint. Leaving it on Auto is a mistake because it adjusts frame by frame, creating inconsistent colors across your photo set.
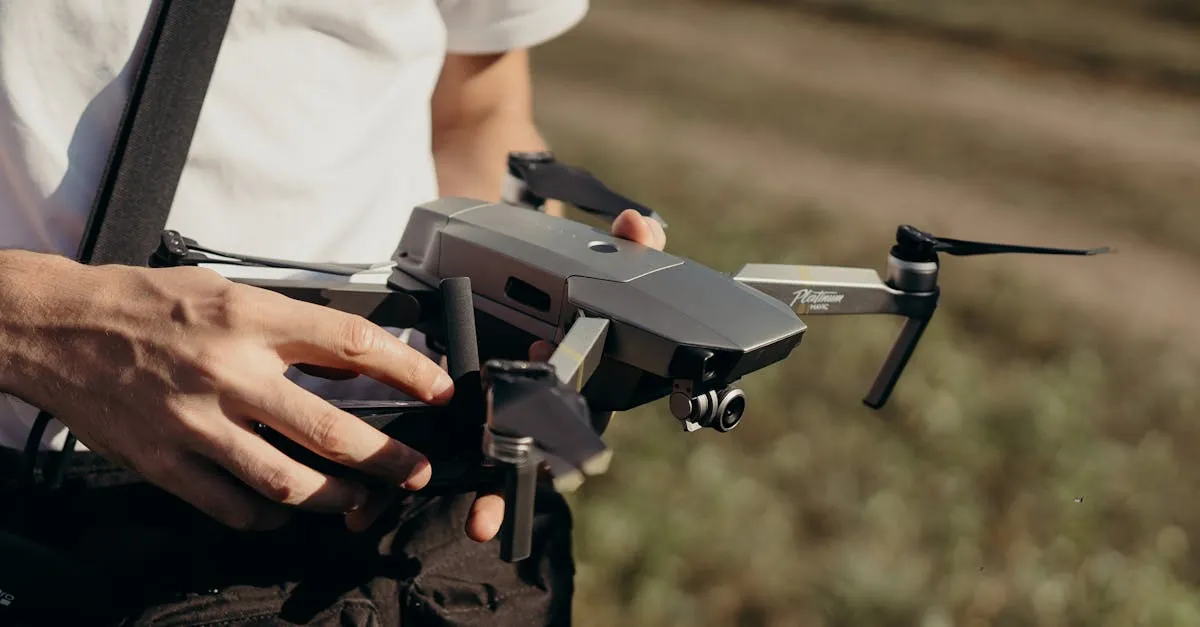
Ready to take control of your camera? Our free Drone Photography Masterclass covers every setting in detail, starting with Camera Settings for Photos. Looking for the right tool? The DJI Air 3S offers a dual-camera system built for versatile photography.