How to Build a Drone from Scratch: Complete Beginner's Guide
Building your own drone gives you deeper understanding, customization freedom, and repair knowledge. Here's every part, tool, and step you need.
Building a drone from scratch requires a frame, four brushless motors, ESCs, flight controller, propellers, battery, and radio system. Basic tools include a soldering iron, wire stripper, and hex keys. The process involves mounting motors, wiring ESCs to the flight controller, connecting the receiver, and configuring software before your first test flight.
Buying ready-to-fly is convenient, but building from scratch is transformative. You gain deeper understanding of how drones work, unlimited customization freedom, invaluable repair knowledge, and the satisfaction of watching something you built take to the sky.
Parts You’ll Need
| Part | Cost | Notes |
|---|---|---|
| Frame | $15-50 | F450 for beginners, carbon fiber for performance |
| Motors (x4) | $8-20 each | Brushless, 1000KV for standard builds |
| ESCs (x4) | $10-20 each | 30A electronic speed controllers |
| Flight Controller | $20-50 | Betaflight F4 for FPV, Pixhawk for GPS |
| Props | $5-15/set | Match to motor KV and frame size |
| Battery | $20-40 | LiPo 3S 2200mAh for beginners |
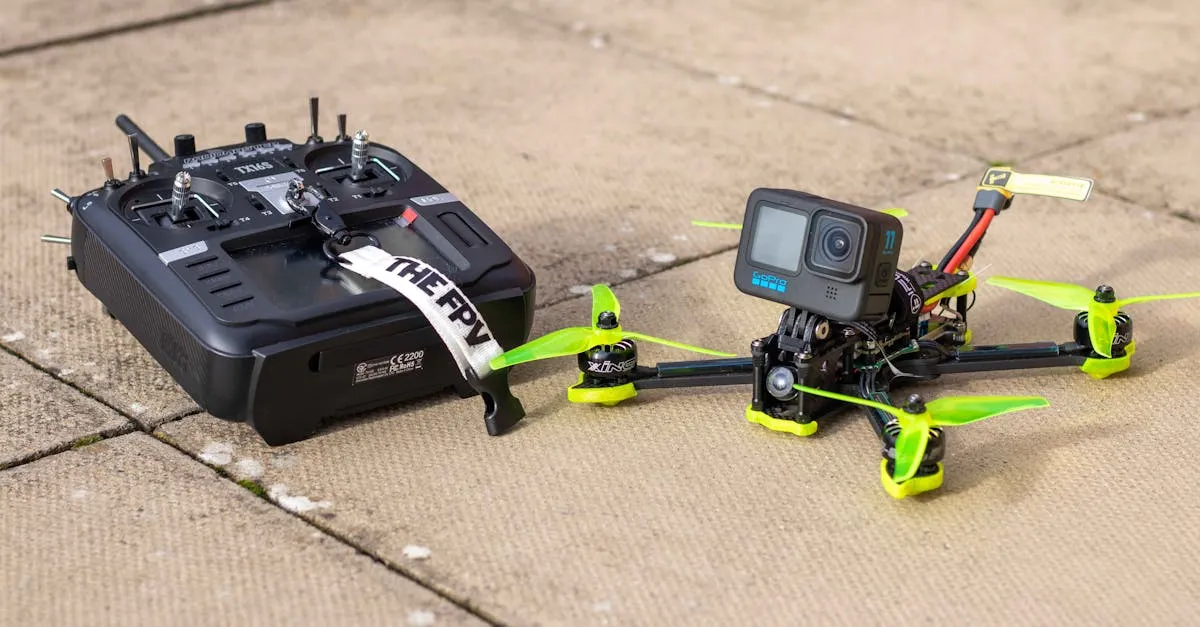
| Radio Tx + Rx | $30-80 | FlySky i6 budget, RadioMaster for FPV |
| Hardware | $5-10 | Screws, standoffs, battery strap |
Tools Required
- Soldering iron (20-25W with fine tip)
- Rosin-core solder
- Wire stripper
- Hex key set
- Heat shrink tubing (assorted)
- Cable ties
- Double-sided foam tape or Velcro
- Multimeter (optional but helpful)
Assembly Steps
Step 1: Mount Motors
Attach four brushless motors to frame arms. Diagonal pairs spin the same direction — front-right and rear-left clockwise (CW), front-left and rear-right counter-clockwise (CCW).
Step 2: Mount ESCs and Wire Motors
Zip-tie ESCs to frame arms. Solder three motor wires to each ESC. If a motor spins wrong direction later, swap any two wires to reverse it.
Step 3: Mount Flight Controller
Use double-sided foam tape (acts as vibration dampener). Orient correctly — arrow on the board points forward.
Step 4: Wire ESCs to FC
Solder power leads from all ESCs together for power distribution. Connect signal wires from each ESC to the corresponding motor pads on the flight controller.
Step 5: Connect Receiver
Mount receiver on frame. Connect signal wires to correct channels on the flight controller.
Step 6: Mount Battery
Velcro + battery strap on center plate. Firm and secure.
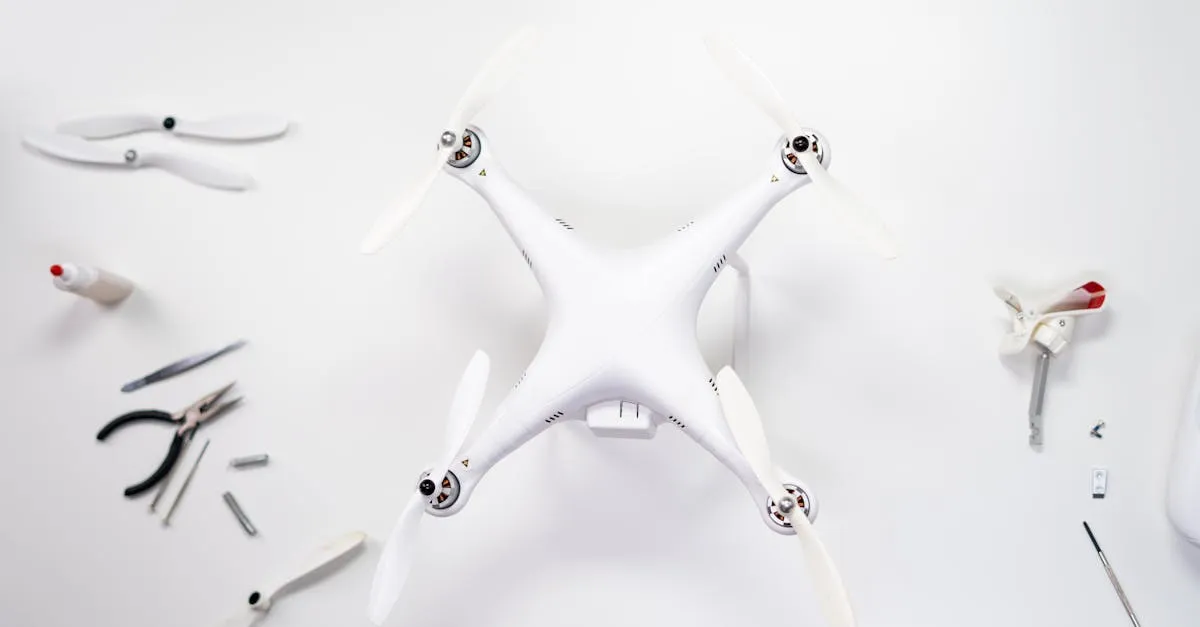
Step 7: Attach Props — LAST
Do not install propellers until all wiring is complete, software is configured, and electronics are tested.
Software Configuration
Connect flight controller to computer via USB. Flash firmware (Betaflight, ArduPilot, or INAV). Configure motor directions. Calibrate ESCs. Set up flight modes (Angle mode for beginners). Bind radio transmitter.
Safety Checklist
- Props OFF for all initial testing
- Check motor spin directions individually
- Verify radio inputs respond correctly in configurator
- Check battery voltage is fully charged
- First flight: open area, low altitude, be ready to land
Frequently Asked Questions
What’s the best frame for a beginner drone builder? The F450 frame is recommended for beginners due to its affordability and straightforward design. Once you gain experience, upgrade to carbon fiber frames for better performance and lighter weight.
Why do diagonal motors need to spin in opposite directions? Diagonal pairs spinning in opposite directions create balanced torque that keeps the drone stable. Without this setup, the drone would spin uncontrollably.
Why should propellers be attached last? Installing props last prevents serious injury during testing and configuration. With props off, you can safely check motor directions and verify radio inputs without risk of spinning blades.
What flight controller should I choose? Betaflight F4 for FPV racing drones, Pixhawk for GPS-enabled autonomous flights. Both cost $20-50 and offer robust software support for different flying styles.
How much does it cost to build a drone from scratch? A basic DIY build typically costs $150-300 depending on component quality. The most expensive items are usually motors, ESCs, and the radio system.
What software do I need to configure my drone? Flash firmware like Betaflight, ArduPilot, or INAV through USB to your flight controller. This lets you calibrate ESCs, set motor directions, configure flight modes, and bind your radio transmitter. Ready to build? Our free Build Your Own Drone course walks you through every step with detailed video instruction.