Tools and Your Workspace
Gathering Your Tools
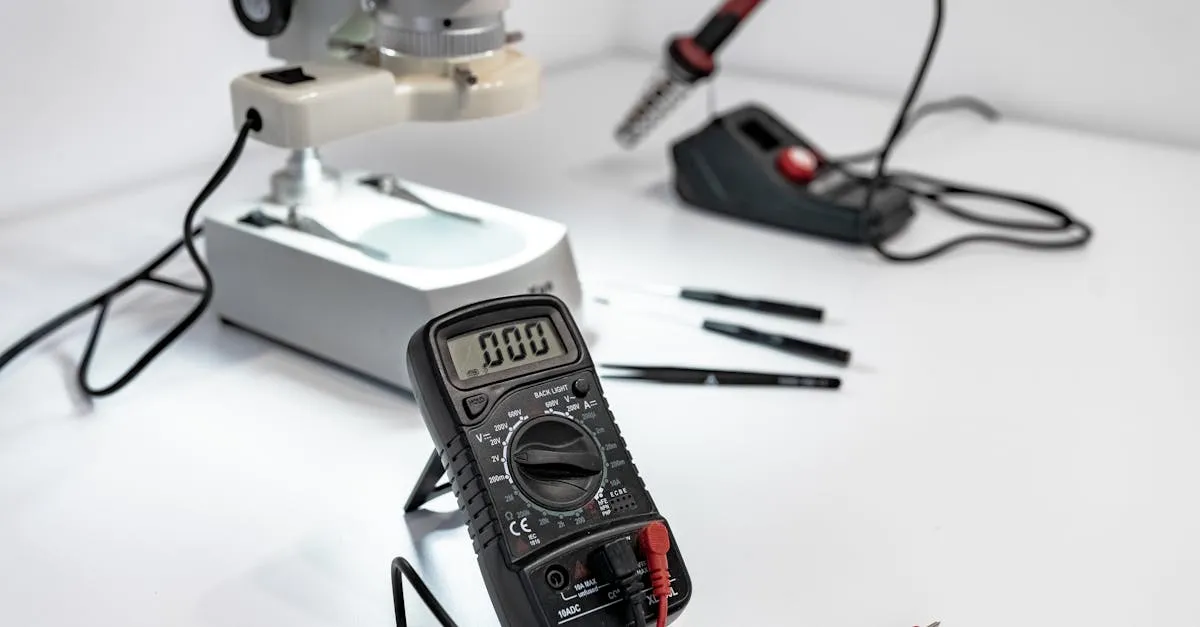
Building a drone requires a specific set of tools. You probably have some already, but a few are specialized for electronics work.
A good soldering iron tops the list. Get a 60-100W temperature-controlled iron and set it around 350 degrees C for battery connectors and ESC power pads. The wattage is not about running hotter — it is about the iron recovering heat quickly when a big pad sucks it away, which a small 20W iron cannot do. Use a chisel or bevel tip for pads and a fine pointed tip for signal pins. Pair it with quality rosin-core solder and a small tub of flux paste. Flux makes solder flow where you want it and prevents cold joints that cause failures mid-flight.
Wire strippers designed for small-gauge wire (20-30 AWG) are non-negotiable. Regular strippers crush fine strands. Add a pair of flush wire cutters for clean trimming.
Measuring and Testing
A digital multimeter lets you check voltage, continuity, and resistance. You will use it constantly: tracing shorts, verifying battery voltage, confirming solder connections. A \$15 model works fine.
Helping hands with alligator clips hold wires steady while you solder. Add heat shrink tubing in multiple sizes, cable ties for wiring management, and a set of hex screwdrivers (metric, typically 1.5mm to 3mm).
Connectors and Mounting
XT60 connectors are the standard for battery connections on hobby drones. Solder a few onto spare wires before build day to practice your technique. Keep electrical tape, double-sided foam tape, and small Velcro strips handy for mounting components to your frame.
Setting Up Your Workspace
Pick a spot with strong overhead lighting. A desk lamp with an adjustable arm helps illuminate tight soldering areas. Clear off clutter before starting. Small screws disappear into chaos easily.
Work on a non-static surface. An anti-static mat is ideal, but a clean wooden or plastic table works. Avoid carpeted areas where static builds up. Keep a small parts tray or magnetic bowl for screws, standoffs, and washers.
Safety First
Soldering produces fumes. Work in a ventilated area or grab a small fume extractor. Even lead-free solder releases stuff you do not want to breathe for hours. Wear safety glasses. Molten solder occasionally pops, and clipped wire ends have a mind of their own.
Unplug your soldering iron when you step away. Keep flux and cleaning alcohol away from heat sources.
Quick Check
Q: When do you use a chisel tip versus a pointed tip on a soldering iron? A: Chisel and bevel tips transfer heat quickly into large pads like XT60 connectors and ESC power pads. Fine pointed tips are for closely spaced signal pins, where a wider tip would bridge adjacent connections.
Q: What is the main risk of working on a carpeted floor? A: Static electricity buildup can discharge through sensitive electronic components like your flight controller, causing permanent damage.
Q: Why do you need flush cutters instead of regular wire cutters? A: Flush cutters leave a flat, close cut that prevents short circuits when wires are close together on a crowded flight controller.
What’s Next?
Now that your workspace is ready and tools are gathered, let us look at the brain of your drone: the flight controller.
Need tools fast? Pilot Institute offers drone building courses with tool recommendations for every budget.