Color Grading Drone Footage in DaVinci Resolve (Step by Step)
Free, powerful, and industry-standard. Here's the complete step-by-step workflow for color grading your drone footage in DaVinci Resolve.
DaVinci Resolve’s free version offers a complete professional color grading workflow for drone footage. The process involves converting D-Log to Rec.709, making primary exposure corrections using lift/gamma/gain wheels, applying targeted secondary adjustments with qualifiers and power windows, then adding creative looks. Always rely on scopes rather than your monitor for accurate results.
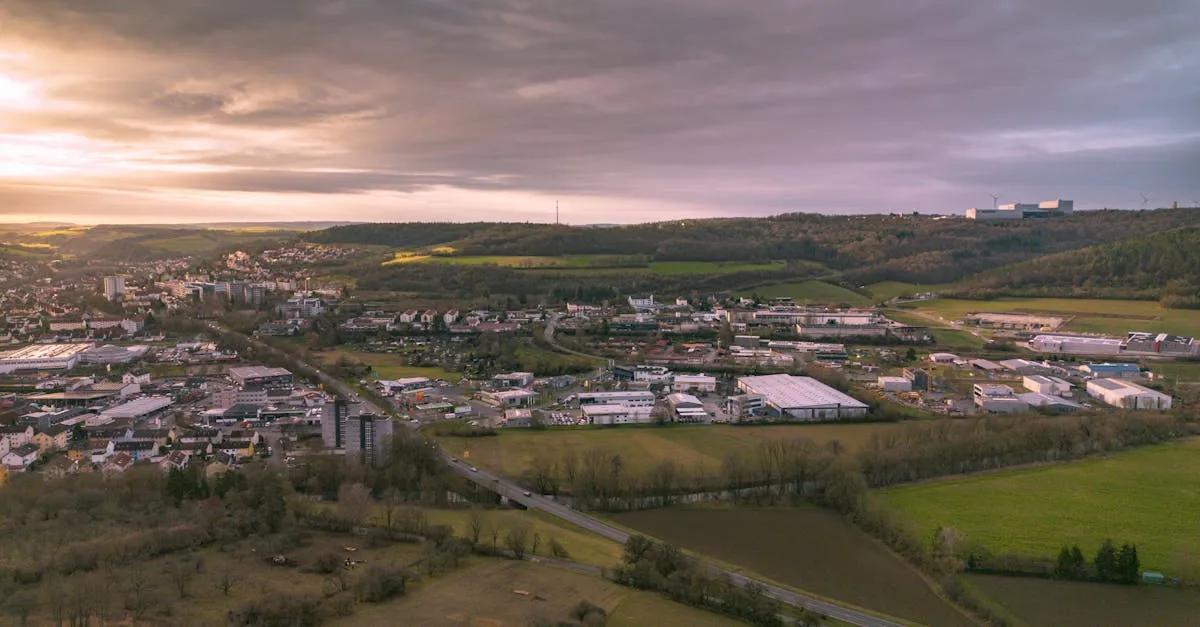
Capturing breathtaking aerial footage is only half the battle. Color grading transforms flat, raw video into a cinematic masterpiece. DaVinci Resolve is the industry standard — and the free version contains every tool you need.
Why DaVinci Resolve
- Free version is extremely powerful — every tool you need
- Industry-standard color grading — used in Hollywood productions
- Node-based workflow — non-destructive layers of adjustments
- Built-in scopes — Waveform, Vectorscope, Histogram
- No subscription — download once, yours forever
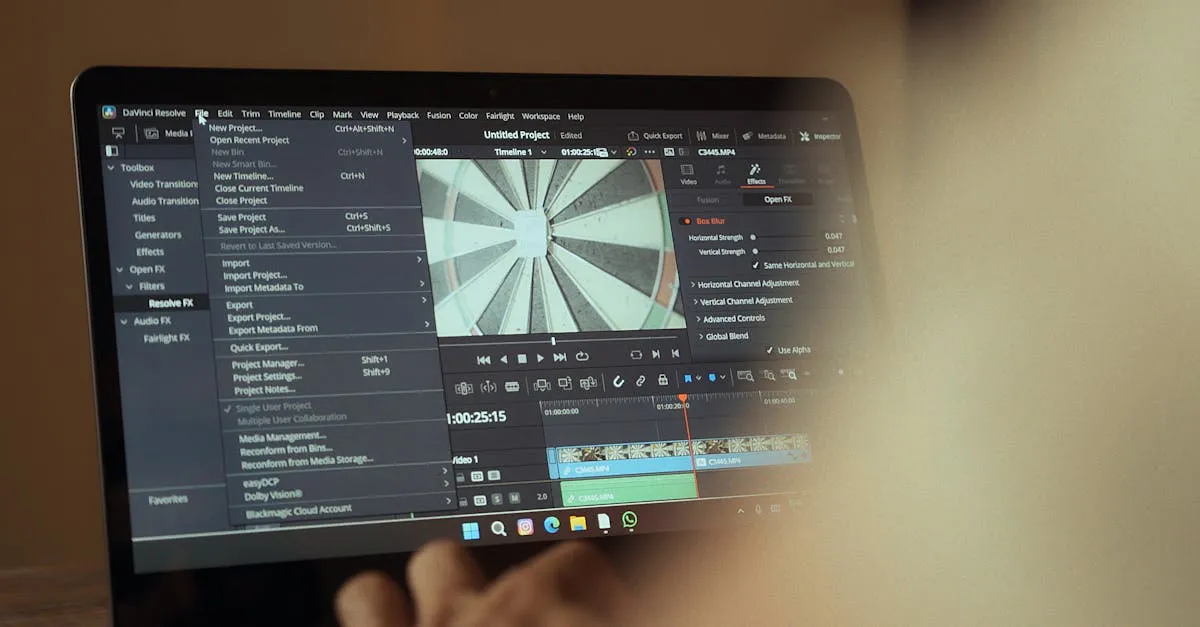
Step 1: Import and Organize
Create a new project matching your footage resolution (typically 4K). Import clips on the Media page. Organize into bins by scene or location — five minutes of organization saves hours of frustration.
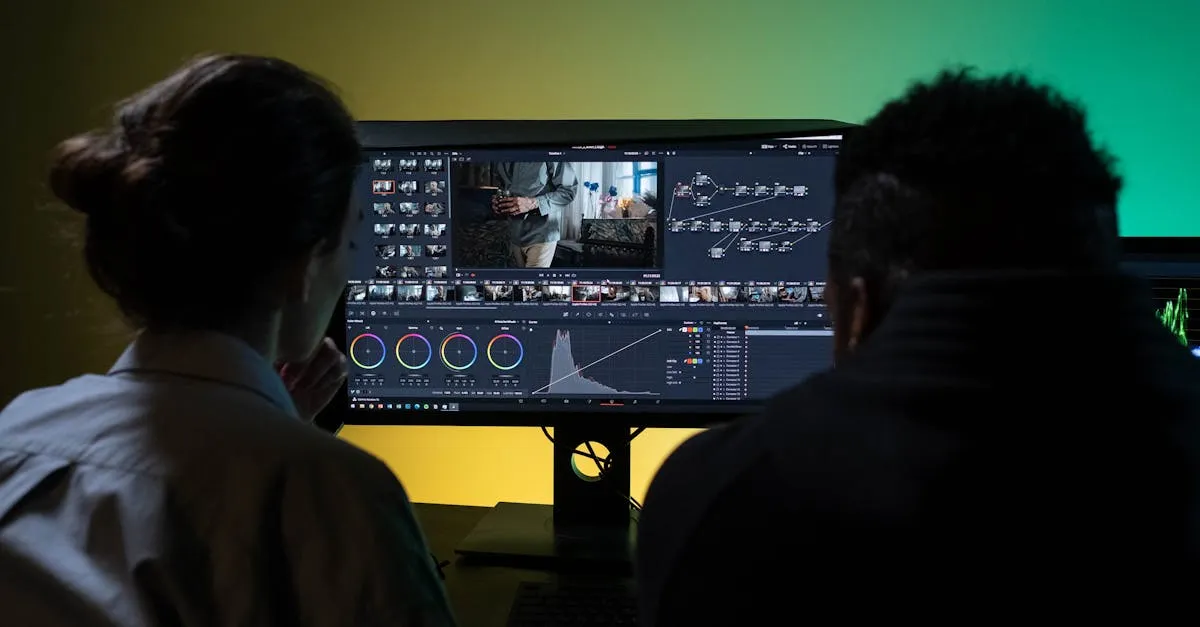
Step 2: Color Page Basics
The Color page has three main areas:
- Viewer — your image
- Nodes panel — the heart of the workflow (each node = a layer)
- Scopes — Waveform, Vectorscope, Histogram (your scientific instruments)
- Primary tools — Lift/Gamma/Gain wheels for shadows/midtones/highlights
Never grade by just looking at your monitor. Always trust the scopes.
Step 3: Convert D-Log to Rec.709
If you shot D-Log, your first node converts to normal viewing space.
Use CST (Color Space Transform):
- Input Color Space: DJI Gamut
- Input Gamma: D-Log
- Output Color Space: Rec.709
- Output Gamma: Rec.709
Alternatively, apply a manufacturer Rec.709 LUT. Now your footage looks normal and ready for correction.
Step 4: Primary Corrections
Fix exposure first, before any creative decisions.
- Lift (shadows): Should sit around 0-10 on the waveform
- Gamma (midtones): Adjust for overall brightness
- Gain (highlights): Should peak between 90-95 — do not clip
Go to the Gamma wheel and make darker areas slightly darker for contrast. Drone sensors are small — avoid crushing blacks completely or you amplify noise in shadow areas.
Step 5: Secondary Corrections
Create a new node for targeted adjustments.
- HSL Qualifiers: Select specific colors — boost sky blue without affecting green grass, warm up skin tones selectively
- Power Windows: Draw shapes to adjust specific areas — brighten a dark foreground, darken sky edges for balanced exposure
Step 6: Creative Grade
Add another new node for your look. LUTs are starting points, not final grades.
Popular drone looks:
- Teal/orange: Cool shadows + warm highlights (complementary color theory)
- Cinematic desaturated: Moody, understated
- Vibrant travel: Punchy colors for tropical waters and landscapes
Use the Log wheels for precise control. Add subtle film grain to polish the look and mask minor digital artifacts.
Step 7: Export
On the Deliver page:
- Web/social: MP4, H.264, match original resolution
- Higher quality: H.265 (HEVC) for better compression
- Professional delivery: ProRes or DNxHR for lossless quality
Resolve has built-in upload presets for YouTube and Vimeo.
Frequently Asked Questions
Why use DaVinci Resolve for drone color grading? The free version includes industry-standard node-based grading tools used in Hollywood productions. It features built-in scopes for accurate analysis and has no subscription fee.
What’s the first step with D-Log drone footage? Apply a Color Space Transform node to convert from DJI Gamut/D-Log to Rec.709. This brings your flat log footage into normal viewing range before making any corrections.
How do I set exposure using the color wheels? Use Lift for shadows (0-10 on waveform), Gamma for midtones, and Gain for highlights (peak 90-95). Avoid crushing blacks completely as small drone sensors amplify noise in shadows.
What’s the difference between primary and secondary corrections? Primary corrections affect the entire image uniformly. Secondary corrections target specific elements using HSL qualifiers to select colors or power windows to isolate regions.
Are LUTs sufficient for a professional grade? LUTs are starting points, not final grades. Use them as a base, then refine with Log wheels for precision. Add subtle film grain to polish the look and mask digital artifacts.
What export settings for drone footage? For web, use MP4 with H.264 at original resolution. For better compression, choose H.265. Professional delivery requires ProRes or DNxHR for lossless quality. Ready to grade like a professional? Master every aspect of the color pipeline in our free Color Grading and LUTs lesson.