Drone Survey Project Workflow: Brief to Deliverables
A step-by-step walkthrough of a professional drone survey project. Nine steps from first client conversation to final delivery.
Professional drone surveys follow a nine-step workflow: define objectives, assess site, plan flight, place GCPs, execute flight, process data, analyze results, quality control, and deliver files. Each step builds on the previous to ensure accurate, client-ready deliverables.
Every drone survey project follows the same basic skeleton, whether you are mapping a 2-acre residential lot or a 500-acre mining operation. The details change, but the process stays consistent. Here is how a professional drone survey moves from that first client phone call to a final deliverable package.
Step 1: Define Project Objectives
Before you touch a controller, sit down with your client and nail down exactly what they need. This conversation prevents scope creep and ensures you are collecting the right data.
Ask specific questions: What are we measuring? A stockpile volume? Topography for civil engineering design? Boundary verification? The answer changes your entire approach.
Next, establish accuracy requirements. A real estate marketing flyover does not need centimeter-level precision. But a cut-and-fill calculation for earthworks? That is a different story. Get the number in writing. Common specifications call for 1-3cm horizontal accuracy and 3-5cm vertical.
Discuss deliverable formats early. Engineers often want GeoTIFF files they can drop into AutoCAD or Civil 3D. Architects might prefer an OBJ mesh for 3D modeling. Some clients just need a PDF report with key measurements.
Finally, document the site boundaries (get a shapefile or at least marked-up satellite imagery), confirm the total acreage, and agree on a delivery timeline. Most projects run 24-48 hours from flight to final files, but complex sites or backlog situations might push that out.
Step 2: Site Assessment
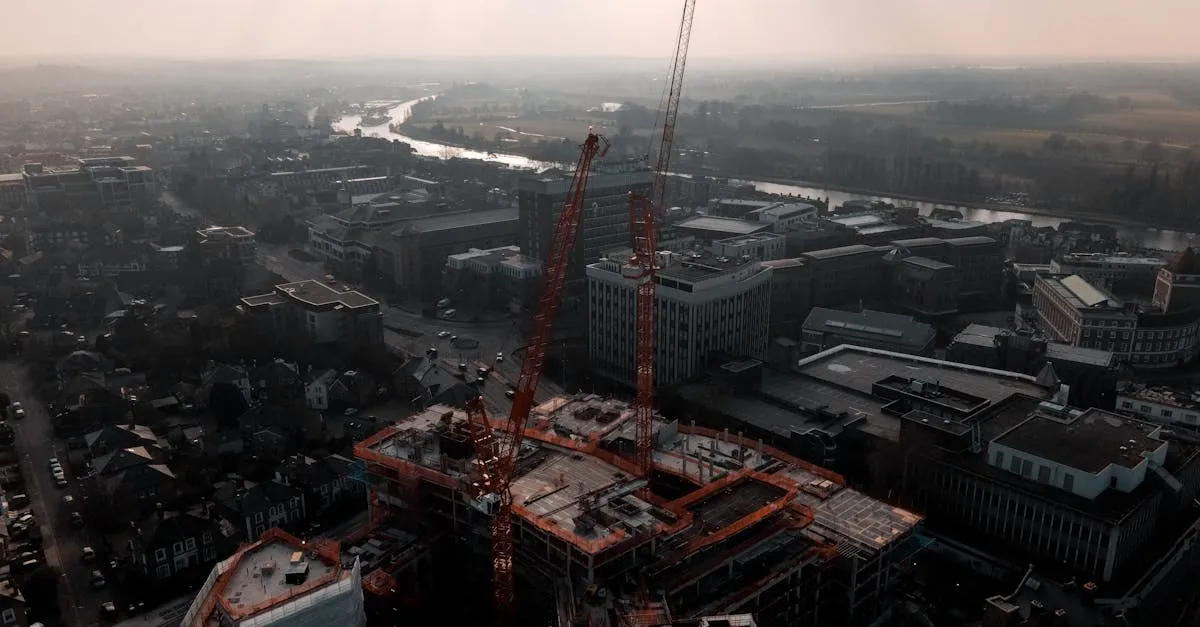
Never show up to a survey site blind. Spend thirty minutes on Google Earth studying the terrain, identifying potential obstacles, and noting access points. Look for tall structures, power lines, dense tree cover, and anything that might interfere with your flight path or signal.
Check the airspace using an FAA-approved B4UFLY app such as Aloft or AutoPylots. Note any controlled airspace, TFRs, or nearby airports that require LAANC authorization.
Identify safety requirements specific to the location. Construction sites need hard hats and safety vests. Mining operations often require site inductions and high-visibility clothing. Industrial facilities might need gas monitors or escort personnel. Find out before you arrive, not when you are turned away at the gate.
Step 3: Flight Planning
This is where the science meets the art. Start by drawing your survey boundary in your flight planning app. Be precise. Flying extra area wastes battery and processing time, but cutting corners means missing data and embarrassing follow-up flights.
Set your flight altitude based on the ground sampling distance (GSD) your project requires. As a rule of thumb, flying at 200 feet AGL with a 20MP camera typically produces a GSD around 2cm/pixel. Need finer resolution? Drop lower, but remember that lower altitude means more batteries, more flight time, and more images to process.
Configure your overlap settings. For most survey work, 75-80% front overlap and 65-70% side overlap provides reliable results. Push these numbers higher (85% front, 75% side) if you are dealing with complex terrain, dense vegetation, or structures with lots of vertical faces. The trade-off is longer flight times and larger datasets.
Plan your battery changes strategically. Know your drone’s flight time under load, then subtract 2-3 minutes as a safety buffer. Mark your planned swap points on the map so you can maintain consistent overlap across battery boundaries.
Step 4: Ground Control Points
GCPs are the backbone of survey accuracy. Without them, you are relying entirely on your drone’s onboard GPS, which might give you meter-level accuracy at best. With properly placed and measured GCPs, you can consistently hit that 2-3cm sweet spot.
Place 5-10 GCPs distributed evenly across your survey area. More points provide redundancy and let you identify any outliers. Avoid placing them all in a line or clustered in one corner. Spread them out to properly constrain the model.
Use an RTK GNSS rover to measure each GCP position. Hold the pole plumb on the target center for 5-10 seconds to achieve a fixed solution, and take a second observation at critical points if you want redundancy. Record the point ID, northing, easting, elevation, and coordinate system. Double-check your entries against the field notes.
Physical GCP markers need to be visible from your flight altitude. Black-and-white checkerboard targets work well, but even a painted X on a concrete pad can suffice if the contrast is sharp enough. Just make sure the marker is not obscured by shadows, vehicles, or vegetation when you fly over.
Step 5: Fly the Survey
You have done the planning. Now execute it. But stay alert. Conditions change and equipment does not always cooperate.
Monitor your battery voltage constantly, especially in cold weather where capacity drops unexpectedly. If you are seeing faster-than-normal drain, land early and swap batteries rather than pushing your luck.
Watch the wind. Most drones handle 15-20 mph winds without issue, but gusts can push you off your planned path and compromise overlap consistency. If the wind picks up mid-flight, consider pausing and resuming when conditions stabilize.
Keep an eye on your GPS signal quality. A sudden drop in satellite count or HDOP spike means something is interfering with your positioning. Could be nearby RF equipment, power lines, or just poor satellite geometry. Fly through brief drops if you must, but extended periods of degraded GPS will hurt your final accuracy.
Step 6: Data Processing

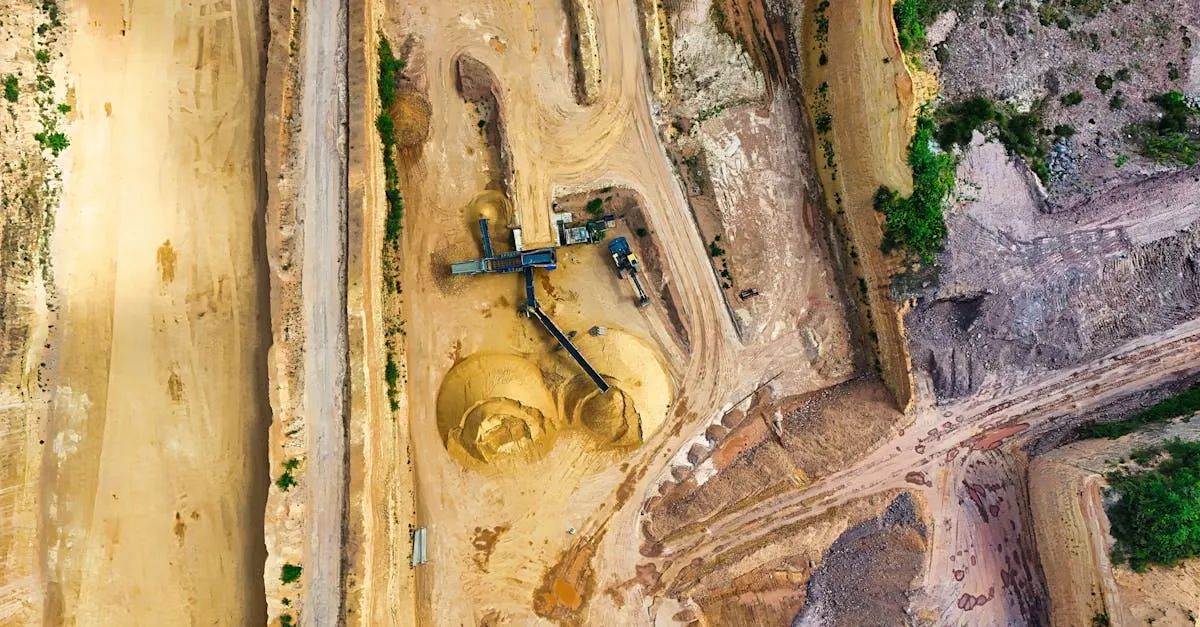
Raw images are useless until you run them through photogrammetry software. The processing pipeline follows a predictable sequence: image alignment, point cloud generation, mesh creation, orthomosaic stitching, and digital elevation model (DEM) export.
Image alignment is the critical first step. The software identifies matching features across overlapping photos and calculates camera positions. If this step fails or produces poor results, everything downstream suffers. Common culprits include insufficient overlap, blurry images, and featureless terrain like open water or freshly plowed fields.
The point cloud transforms aligned photos into a 3D representation of your site, millions of points with X, Y, and Z coordinates. From there, the mesh connects those points into a continuous surface, and the orthomosaic drapes corrected imagery over that surface to create a measurable, georeferenced map.
Software options include DroneDeploy (cloud-based, user-friendly), Pix4D (powerful, industry standard), and Agisoft Metashape (flexible, cost-effective for high-volume processing). Each has strengths depending on your workflow and budget.
Step 7: Data Analysis
Your processed data only becomes valuable when you extract the information your client actually needs. Most survey projects involve some combination of distance measurements, area calculations, volume computations, and contour line generation.
Distance measurements are straightforward. Click two points and get a horizontal or slope distance. Area calculations work the same way for polygons. Volume calculations require defining a base surface (either a flat plane at a specified elevation or a previous survey surface for change detection) and letting the software compute cut, fill, and net volumes.
Contour lines are essential for topographic surveys. Most clients want 1-foot or 0.5-meter intervals, but specify this in your initial conversation. Export contours as shapefiles or DXF files that integrate with their existing CAD workflows.
Step 8: Quality Control
Before you send anything to a client, verify that your deliverables meet the agreed-upon accuracy standards. This step separates professional surveyors from hobbyists who happen to own drones.
Open your orthomosaic side-by-side with recent satellite imagery. Zoom in and check that roads line up, buildings match, and nothing looks obviously distorted or shifted. This quick visual check catches major georeferencing errors.
More importantly, review your GCP residuals in the processing software. Each GCP should show a horizontal and vertical error, ideally under 2-3cm for a well-executed survey. If one point shows significantly higher error than the others, you may have made a measurement or data entry mistake. Investigate and reprocess if necessary.
Step 9: Deliver Results
Package your deliverables in the formats your client requested. Common outputs include:
- GeoTIFF: Georeferenced orthomosaic imagery for GIS and CAD applications
- LAS/LAZ: Point cloud data in standard lidar formats
- PDF Report: Summary document with project parameters, accuracy metrics, and key measurements
- KMZ: Compressed KML file for viewing in Google Earth, great for clients who do not have specialized software
Organize files logically with clear naming conventions. Include a brief readme file explaining what each deliverable contains and how to use it. Your client should not need to email you asking which file is the orthomosaic versus the DEM.
Typical turnaround is 24-48 hours from flight to delivery. If you are going to miss that window, communicate early. Clients would rather hear “Friday morning instead of Thursday” on Wednesday afternoon than wonder where their files are on Friday evening.
Frequently Asked Questions
Why define objectives first? Prevents scope creep and ensures collecting the right data. Different objectives need different approaches and accuracy levels.
How many ground control points? 5-10 distributed evenly across the survey area. Avoid clustering or placing in a line.
Overlap settings? 75-80% front and 65-70% side for standard work. Increase to 85%/75% for complex terrain or vegetation.
How to verify accuracy? Check orthomosaic against satellite imagery, review GCP residuals. Well-executed surveys show errors under 2-3cm.
What file formats do clients need? GeoTIFF for orthomosaics, LAS/LAZ for point clouds, shapefiles or DXF for contours, PDF reports.
Standard turnaround? 24-48 hours from flight to delivery. Communicate early if delays arise.
Ready to put this workflow into practice? The free Drone Surveying Business course at drone.courses walks you through pricing, client acquisition, and project management for survey operations. For the technical side, the Drone Mapping course covers flight planning, GCP placement, and data processing in detail. Both are available now at drone.courses.