Proxy Editing Workflow for 4K Drone Footage
4K drone footage chokes most computers. Proxy editing lets you work smoothly on any machine without losing quality in the final export.
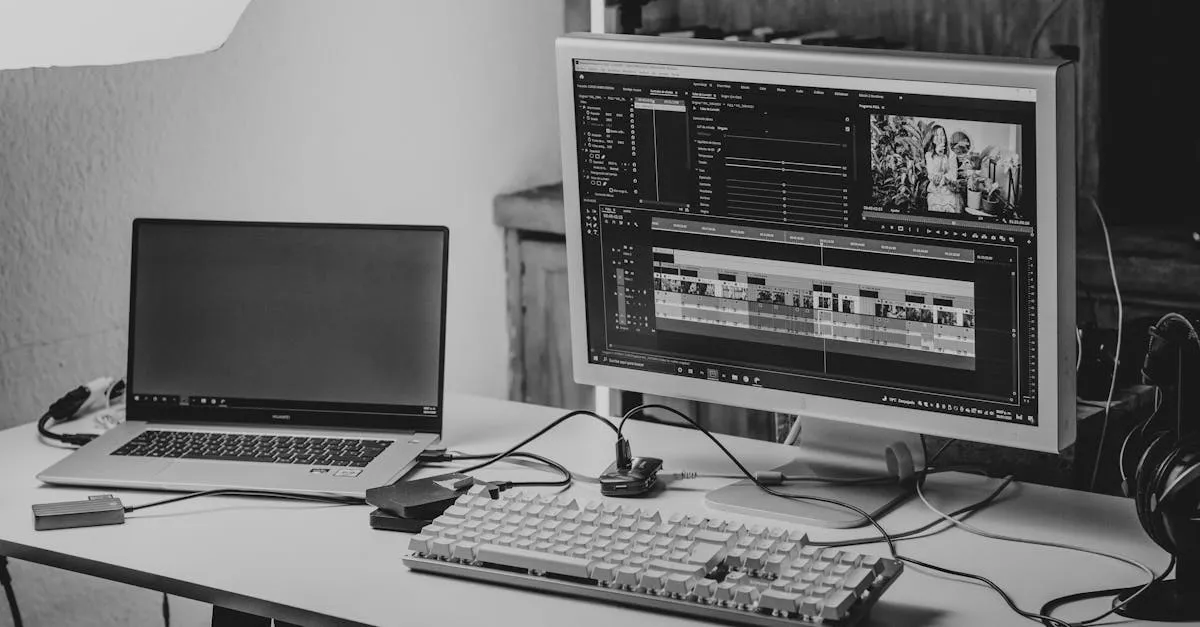
Proxy editing creates lower-resolution copies of 4K drone footage for smooth timeline performance. You edit lightweight 1080p or 720p proxies, then the software links back to original 4K files for full-quality export. Most laptop editors should use proxies for any 4K footage with multiple layers or effects.
You imported your 4K drone footage into your editing timeline and everything stuttered. The playback dropped frames. The scrubbing lagged. You watched more loading spinners than actual footage. Welcome to the reality of editing 4K on a laptop.
The solution is proxy editing, and it is how every professional handles high-resolution footage on anything less than a $5,000 workstation.
What Are Proxies?
Proxies are lower-resolution copies of your original clips. Instead of editing the massive 4K files, you edit small, lightweight 1080p or 720p versions. Your computer handles them smoothly. When you finish editing and export, the software automatically links back to the original 4K files for full-quality output.
You get smooth editing performance and full-resolution exports. No compromise.
Setting Up Proxies in DaVinci Resolve
Resolve makes proxy editing nearly automatic:
- Select your clips in the Media Pool
- Right-click and choose “Generate Proxy Media”
- Choose your proxy resolution (1080p recommended) and format
- Click Generate
Resolve creates the proxies in the background. Toggle between proxy and original quality using the “Proxy” button at the top of the viewer. Your edits, color grades, and effects carry over seamlessly between proxy and full-resolution modes.
Setting Up Proxies in Premiere Pro
- Open the Ingest Settings (Project panel > flyout menu > Ingest Settings)
- Enable “Ingest” and select “Create Proxies”
- Choose your proxy format (1280x720 H.264 works well)
- Set your proxy destination folder
Now any footage you import automatically generates proxies. Toggle proxy mode in the Program Monitor using the proxy button.
Setting Up Proxies in Final Cut Pro X
- Select your clips in the Browser
- Go to File > Transcode Media
- Check “Create proxy media”
- Choose your proxy size and click OK
FCPX handles the rest. Switch between proxy and original/optimized media in the Viewer using the dropdown menu.

Storage Considerations
Proxies take up additional disk space. A typical 4K drone clip generates a proxy that is roughly 20-30% of the original file size. For a project with 50GB of 4K footage, expect roughly 10-15GB of proxy files.
Keep proxies on your internal drive for speed. Store originals on external drives if space is tight. Just make sure both drives are connected when you export.
When to Use Proxies
Use proxies whenever you notice playback stuttering or dropped frames. If your timeline plays back smoothly at full resolution, proxies are unnecessary overhead.
Most laptop editors should use proxies for any 4K footage. Desktop editors with dedicated GPUs can often handle 4K natively, though even they benefit from proxies on complex timelines with multiple layers and effects.
The Export Step
Before your final export, verify you are rendering from the original files, not the proxies. Most editing software handles this automatically when you switch back to “Full Resolution” mode, but double-check. Exporting from proxies gives you a lower-resolution final product.
Frequently Asked Questions
How much extra storage do proxy files require? Roughly 20-30% of original file size. For 50GB of 4K footage, expect about 10-15GB of proxies. Keep proxies on internal drives for speed and originals on external drives.
How do I set up proxies in DaVinci Resolve? Select clips in Media Pool, right-click and choose Generate Proxy Media, choose 1080p resolution, then click Generate. Toggle between proxy and original using the Proxy button at the top of the viewer.
Will my final export be lower quality? No, as long as you switch back to Full Resolution mode before exporting. Most software automatically links to original 4K files during export, but always double-check.
Do I need proxies on a powerful desktop? Desktops with dedicated GPUs can often handle 4K natively for simple timelines. But even powerful machines benefit from proxies on complex timelines with multiple layers and effects.
What proxy resolution for 4K footage? 1080p is recommended. In Premiere Pro, 1280x720 H.264 works well. The goal is smooth playback, the proxy is just for editing, not final output.
How does Premiere Pro handle proxy generation? Open Ingest Settings, enable Ingest and select Create Proxies, choose format and destination. Any imported footage automatically generates proxies. Toggle proxy mode in the Program Monitor.
Our free Drone Color Grading and Editing Masterclass covers the complete editing workflow including proxy setup, color grading techniques, and platform-specific export settings.