How to Use LUTs on Drone Footage (Premiere, Resolve, FCPX)
LUTs transform flat drone footage into cinematic video with one click. Here is how to apply them correctly in every major editing program.
LUTs transform flat drone footage into cinematic video by remapping color values. Apply one technical LUT to convert D-Log to Rec.709, then add one creative LUT for style. Never stack multiple creative LUTs. Always correct exposure and white balance before applying any LUT for optimal results.
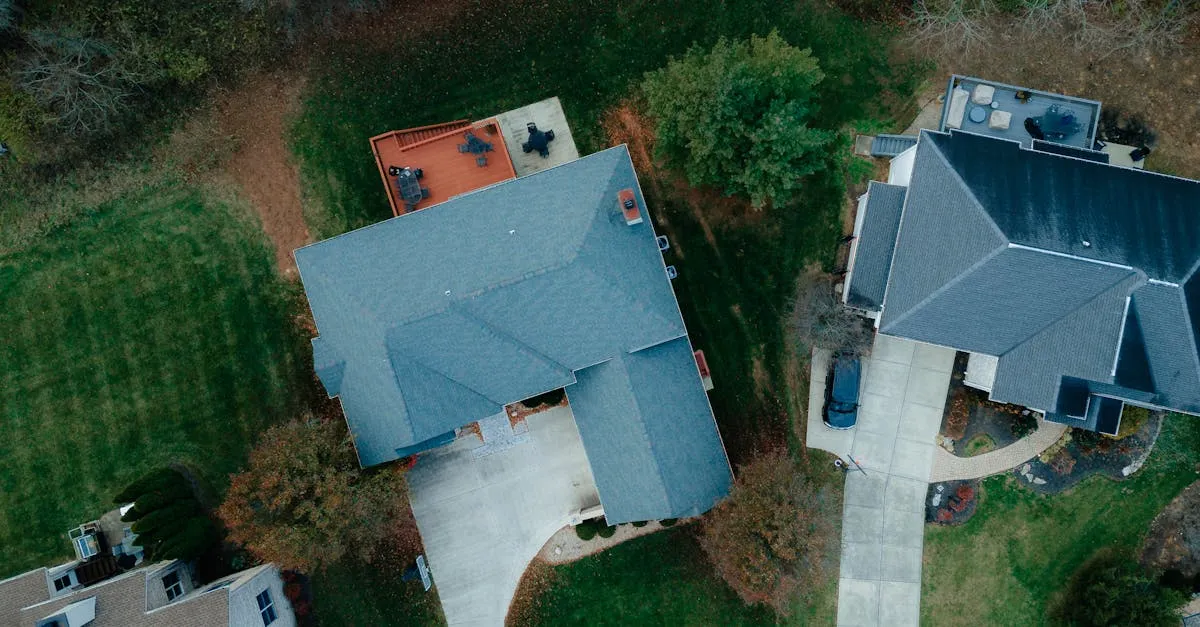
Raw drone footage looks flat. That is not a knock against your camera or your flying. Drones shoot in flat profiles to preserve maximum dynamic range. The magic happens in post, and LUTs are the fastest way to get there.
What Are LUTs?
LUT stands for Look-Up Table. It is a mathematical preset that remaps every pixel’s color values. Think of it as a sophisticated filter that works at the pixel level with far more precision than an Instagram preset.
There are two types you need to know:
Technical LUTs convert log footage (D-Log, D-Log M) into standard Rec.709 color space. This is a necessary conversion, not a creative choice.
Creative LUTs add a specific look: orange and teal, film emulation, warm sunset, moody blue. These are the LUTs that give your footage its signature style.
Step 1: Get DJI’s Free Official LUTs
DJI provides free technical LUTs for D-Log and D-Log M on their website. Download them before anything else. These convert your flat footage to standard color accurately because they are calibrated for DJI’s specific sensors.
How to Apply LUTs in Premiere Pro
- Select your clip on the timeline
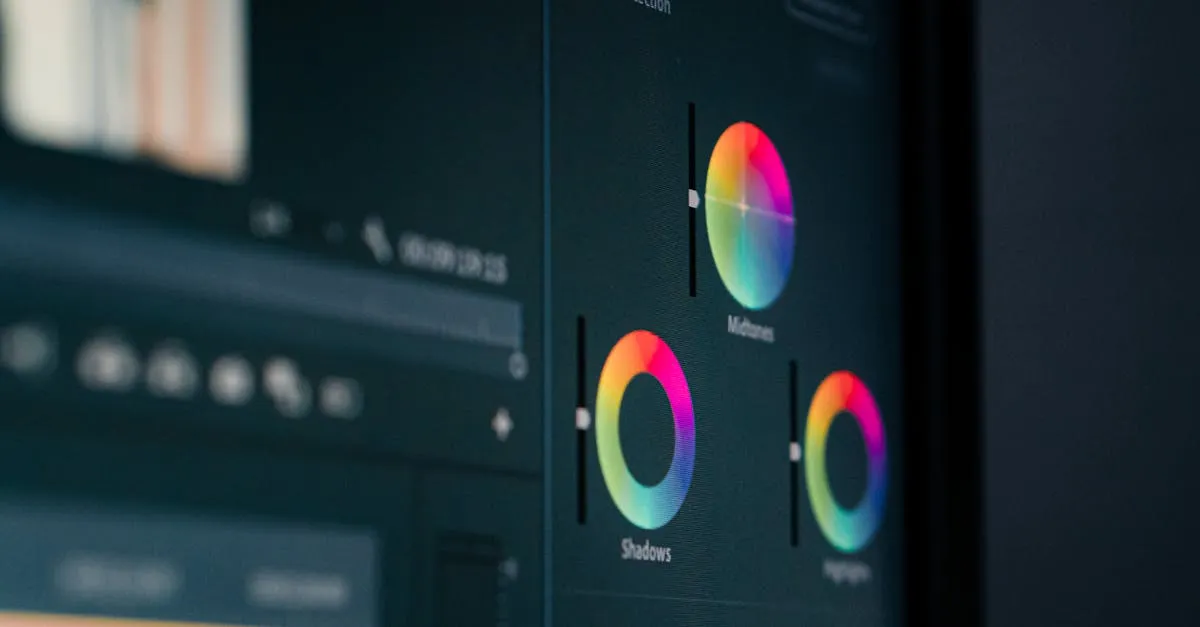
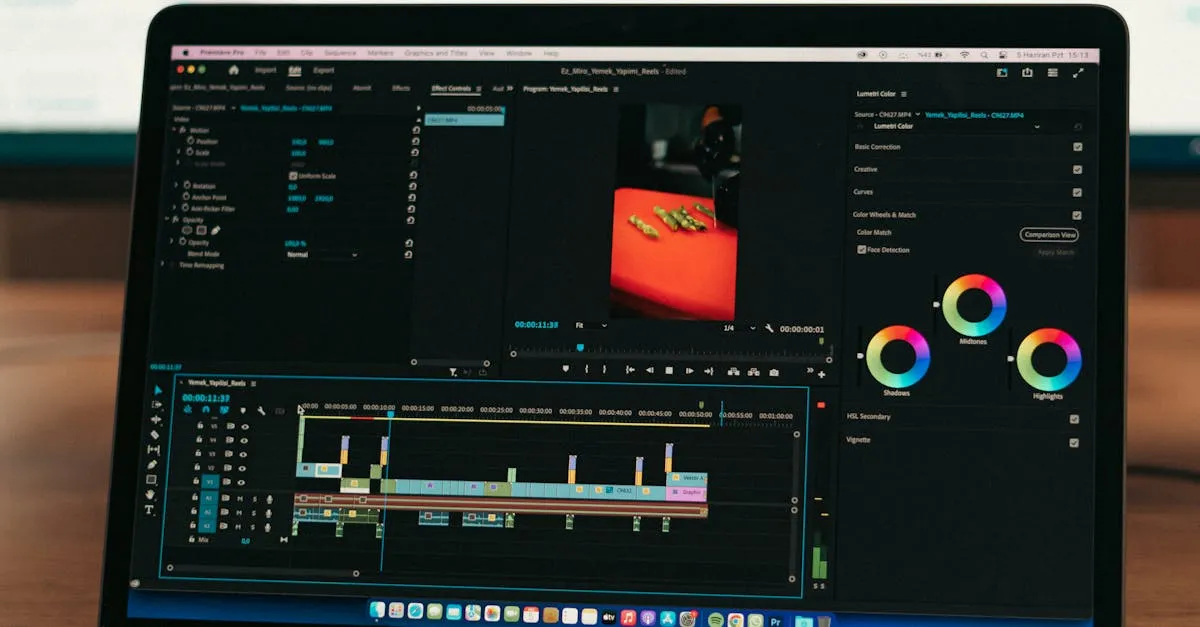
- Open the Lumetri Color panel
- Under Basic Correction, find “Input LUT” and browse to your DJI technical LUT
- Switch to the Creative tab
- Use the “Look” dropdown to browse and apply your creative LUT
- Adjust the intensity slider if the effect is too strong
Create an adjustment layer above your clips and apply the LUT there. It affects everything beneath, saving you from applying it 50 times.
How to Apply LUTs in DaVinci Resolve
- Go to the Color page
- Right-click in the LUTs panel (upper right) and select “Add LUT”
- Navigate to your .cube file
- Drag the LUT onto a node in your node tree
For the cleanest workflow, use separate nodes: Node 1 for your CST (Color Space Transform to convert log), Node 2 for your creative LUT, Node 3 for adjustments.
How to Apply LUTs in Final Cut Pro X
- Open the Effects browser
- Search for “LUT” or install a free plugin like mLUT
- Drag the LUT effect onto your clip
- In the Inspector, browse to your .cube file
- Adjust the mix slider to control intensity
The Rules of LUT Application
Never stack multiple LUTs. Applying two creative LUTs on top of each other compounds color transformations and destroys image quality. One technical + one creative maximum.
Always adjust after applying. A LUT gets you 70% of the way. Tweak exposure, white balance, and saturation to match your specific footage.
Correct before you LUT. Fix exposure and white balance first, then apply the LUT. Feeding a LUT uncorrected footage produces poor results.
Beyond LUTs
LUTs are a starting point, not a finish line. Understanding color grading fundamentals transforms your footage from “filtered” to professional. Our free Drone Color Grading and Editing Masterclass covers the complete workflow from flat footage to cinematic final product. Your drone footage deserves better than guesswork.
Frequently Asked Questions
What is the difference between technical and creative LUTs? Technical LUTs convert log footage like D-Log into standard Rec.709 color space, a necessary conversion. Creative LUTs add specific looks such as orange and teal, film emulation, or warm sunset tones.
Can I apply multiple LUTs to the same clip? Never stack multiple creative LUTs. This compounds color transformations and destroys image quality. The maximum is one technical LUT plus one creative LUT.
How do I apply LUTs in Premiere Pro efficiently? Select your clip, open Lumetri Color, set the Input LUT under Basic Correction, then add your creative LUT in the Creative tab. For efficiency, create an adjustment layer above multiple clips.
What is the correct node structure in DaVinci Resolve? Node 1 for Color Space Transform to convert log footage, Node 2 for your creative LUT, Node 3 for adjustments. This keeps each step isolated and non-destructive.
Do I need to adjust anything after applying a LUT? Yes, a LUT gets you about 70% of the way. Always tweak exposure, white balance, and saturation afterward. Every clip is different, so LUTs work best as a starting point.
Where can I get DJI official LUTs for free? DJI provides free technical LUTs for D-Log and D-Log M on their website, calibrated specifically for DJI sensors. Download them for your specific drone model from DJI support pages.