Matching Shots and Creating Consistency
You graded a beautiful sunset shot. The colors are rich, the exposure is perfect, the sky has that subtle orange-to-purple gradient. Then you cut to your next clip, shot from the same location on the same day with the same drone, and it looks completely different. The whites are blue, the shadows are lifted, and the whole thing feels flat.
This is the matching problem, and it is the single biggest thing that separates professional drone edits from everything else.
When you are shooting drone footage, you are constantly dealing with changing conditions. The sun moves, clouds roll in, you change altitude and angle, and the auto-exposure on your drone makes micro-adjustments every second. By the time you sit down to edit, you might have 50 clips that all look slightly different despite being from the same flight.
Here is how to fix it.
Start with a Reference
Before you touch a single clip, pick your hero shot. This is the shot that looks closest to your vision. Maybe it is the best-lit clip, or the one with the most appealing color. Everything else gets matched to this.
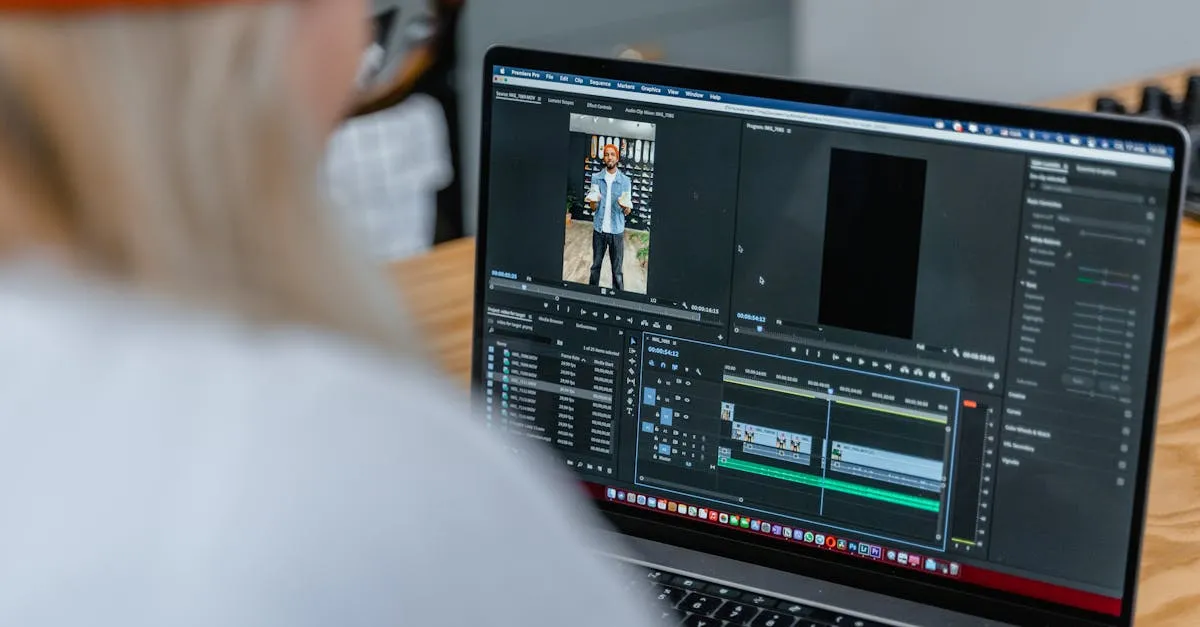
Grab a still frame from that hero shot and keep it visible. In DaVinci Resolve, right-click in the viewer on the Color page and select “Grab Still.” It saves to your gallery, and you can pull it up anytime.
Reference stills are not just for matching. They are your anchor point. When you are 30 minutes deep into grading and your eyes start playing tricks on you, that reference keeps you honest.
The Matching Hierarchy
There is a right way and a wrong way to match shots. The wrong way is to start tweaking colors until things “look right.” That is guessing.
The right way follows a specific order:
1. Match your black and white points first. Pull up your RGB Parade and look at where the shadows and highlights sit. If your hero clip has blacks at around 5 IRE and your problem clip has them at 15 IRE, fix that gap first. Use your Lift and Gain wheels, or use Custom Curves to pin those points exactly.
2. Match your midtones. Once your blacks and whites are aligned, check the middle of your waveform. If one clip feels hazier or more contrasty than your reference despite having the same endpoints, the midtones are off.
3. Match your color last. Only after your luminance is locked should you start touching saturation and hue. Trying to match color before exposure is like trying to paint a wall that is still wet.
Using DaVinci Resolve’s Color Match
Resolve has a built-in Color Match feature that can do heavy lifting automatically:
- Park on your hero shot and grab a still
- Move to the clip you want to match
- Open the Color Match palette (the icon with overlapping circles)
- Click “Reference” and select your saved still
- Click “Match”
The algorithm analyzes both clips and generates correction values. Sometimes this works perfectly. Sometimes it needs refinement. Sometimes it is completely wrong, especially if your clips have very different compositions.
Color Match works best when your source and reference clips have similar content. Matching a wide landscape to a close-up of a building gives unreliable results because the algorithm does not have enough overlapping information.
Group Clips for Shared Corrections
When you have multiple clips from the same flight that all need the same base correction, use Resolve’s Group Clips feature.
Select all the clips that should share a base grade, right-click, and choose “Group Clips.” When you add a node to one clip, it applies to all of them. Get everything in the same ballpark first, then break out individual clips for fine-tuning.
You can have multiple groups. Group your golden hour clips together, your midday clips together, your overcast clips together. Each group gets its own base correction.
The Auto-Exposure Problem
Every drone editor runs into this eventually: a smooth, continuous flight where the exposure suddenly shifts mid-clip. One second the image looks great, the next it is noticeably brighter or darker.
This happens because your drone’s auto-exposure reacted to something in the frame. A dark rooftop, a changing horizon line, a passing cloud.
The fix is to keyframe your correction. Park on the frame before the shift and set your values. Move to the frame after the shift and adjust. Resolve interpolates between those keyframes, giving you a smooth transition instead of a jarring jump.
If you are getting a lot of auto-exposure shifts, consider shooting in manual mode. It takes more pre-flight planning, but it eliminates this problem entirely. Lock your ISO and shutter speed, and let the ND filters do their job.
The Final Consistency Check
Once you think you are done matching, scrub through your entire timeline at 2x or 3x speed, watching only the scopes. You are looking for any moment where the waveform suddenly jumps or shifts. If the RGB Parade stays relatively stable as you scrub, your matching is solid.
Then watch it back at normal speed on a calibrated monitor. Trust your eyes, but verify with scopes. That workflow gets consistent results every time.